Every comment, blog, article or social media post etc. has their own sentiment. Sentiment analysis is contextual mining of text which identifies and extracts subjective information in source material, and helping a business to understand the social sentiment of their brand, product or service while monitoring online conversations. However, analysis of social media streams is usually restricted to just basic sentiment analysis. Sentiment should be Positive, Negative or Neutral.
For analyzing the Sentiment SAS introduced SAS Sentiment Analysis Studio. By using SAS Sentiment Analysis Studio we can simply review the sentiment of any text content.
Below is the icon of SAS Sentiment Analysis Studio:
Figure 1: Sentiment Analysis Studio Icon
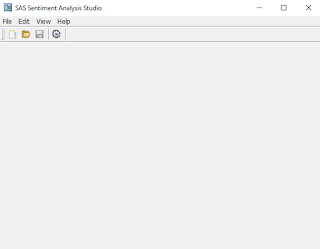
By opening Sentiment studio below window will appear.
Figure 2: Initial Screen
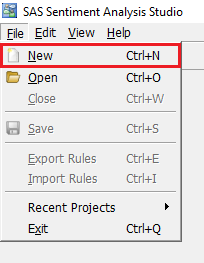
Go to File>>New for creating a new Sentiment project or open a existing project go to File>>Open
Figure 3: Creating New Project
Assign the name of sentiment project, Directory Path where you want save project and Language as per preference then click to Next.
Figure 4: Project Basic Settings
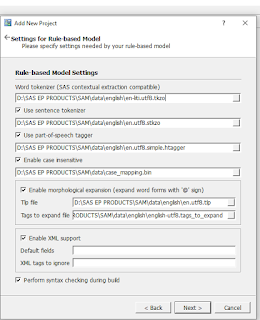
Rule-based Model Settings will be auto-populated as per the standard SAS Sentiment Analysis Studio Installation. Although, we can change these settings as per our convenience. Click on Next.
Figure 5: Rule-based Model Settings
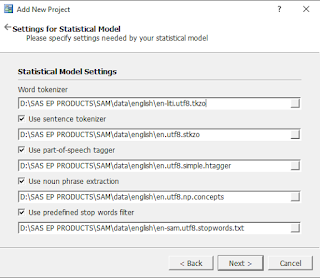
Statistical Model Settings will also be auto-populated as per the standard SAS Sentiment Analysis Studio Installation. Although, we can change these settings as per our convenience. Click on Next.
Figure 6: Statistical Model Settings
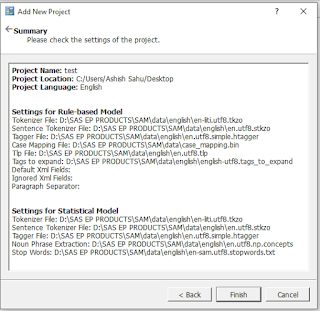
Check and validate the summary of the new project that you are creating then click on Finish..
Figure 7: Project Summary
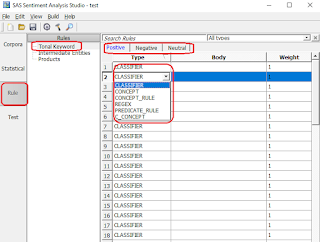
On this tab by clicking on Rule>>Tonal Keyword we can select Positive, Negative or Neutral then click on Type in the drop down section there are six type of rule in that we can add keywords.
Figure 8: Sentiment Rules
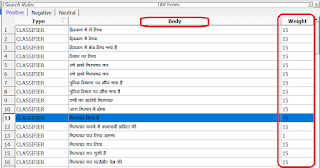
On Body we can add keywords as per the type of rules we have selected and on right weight field we add the weight of the rules.
Figure 9: Assigning Weights to Rules
For testing rules click on Test paste or write blog, article, comments, news etc. click on top right Test then we can see the color, negative keyword turn into red, positive keyword turn into green and rest of like verb, nouns etc turn into blue. At the bottom of tool in the Text Result field we can see final result of text that we are testing.
Figure 10: Testing of Rules
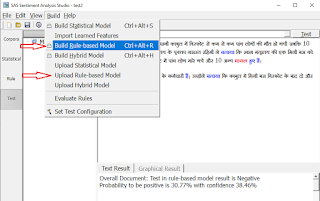
After defining rules click on Build>>Build Rule-based Model if it’s build successfully then go to Build>>Upload Rule-based Model.
Figure 11: Building Rule-based Model
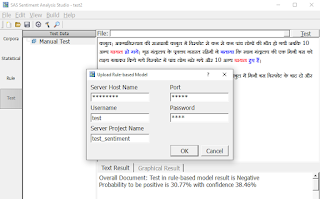
In the Upload Rule-based Model fill the Server Host Name, Port, Username Password and Server Project Name and then click on OK so that project will be upload on server.